

Provide specific steps for replacing SEW gearbox gears
preparationConfirm the model and specifications of the gearbox, as well as the specific parameters of the gear to be replaced. Prepare the corresponding new gear spare parts, tools (such as wrenches, pullers, vernier calipers, feeler gauges, etc.), cleaning supplies (such as clean cloths, kerosene or special cleaning agents), lubricating grease, etc.
Cut off the power supply to the gearbox and ensure that the power supply is not accidentally connected during maintenance, while hanging warning signs.
Clean up debris and dust around the gearbox, and keep the work area clean.
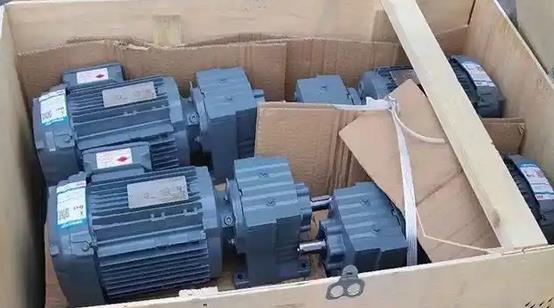
Disassemble the gearbox
According to the installation manual of the reducer, gradually disassemble the coupling, pulley, or other transmission components connected to the reducer, mark them properly for accurate installation in the future.
Unscrew the anchor bolts of the reducer, remove the reducer from the installation foundation, and place it on a clean and spacious workbench or ground, taking care to prevent the reducer from being hit or damaged.
Disassemble the end cover, bearing cover, and other components of the gearbox, and be careful to preserve the disassembled bolts, nuts, and other parts to avoid loss. During the disassembly process, it may be necessary to use specialized tools such as a puller to disassemble components such as bearings and gears.
Remove the damaged gear
Carefully extract the output shaft or input shaft from the gearbox housing, taking care not to damage the shaft neck and bearing holes. If the shaft and gear are connected by a key, the key needs to be removed first.
Use a suitable tool, such as a puller, to pull the damaged gear off the shaft. If the gear and shaft fit tightly, heating methods can be used, such as using a hot air gun or oil bath to heat the gear, making it easier to disassemble after expansion. However, it is important to note that the heating temperature should not be too high to avoid damaging the material properties of the gear and shaft.
Install a new gear
Clean the mating surface of the new gear and shaft to ensure that there are no oil stains, impurities, burrs, etc. You can use a clean cloth dipped in kerosene or specialized cleaning agent to wipe, and then wipe dry with a clean cloth.
Apply an appropriate amount of lubricating grease on the mating surface between the inner hole of the new gear and the shaft for easy installation.
Insert the new gear smoothly onto the shaft, aligning its keyway with the key on the shaft, and then gently tap the gear to gradually install it in place. If the gear installation is difficult, a press or other specialized tools can be used for pressing to ensure that the gear installation is firm and the fit accuracy with the shaft meets the requirements.
Install the key and ensure that it is securely installed in the keyway without any looseness.
Install other components and assemble the gearbox
Carefully place the shaft with the new gear installed back into the gearbox housing, paying attention to the correct position and direction of the shaft.
Install bearings, bearing covers, end caps, and other components, tighten the bolts, but do not tighten them too tightly to avoid affecting the normal operation of the bearings. When installing bearings, attention should be paid to the installation direction and clearance adjustment of the bearings. Tools such as feeler gauges can be used to measure and adjust according to the type and requirements of the bearings.
Install the disassembled coupling, pulley, and other transmission components accurately according to the markings
