

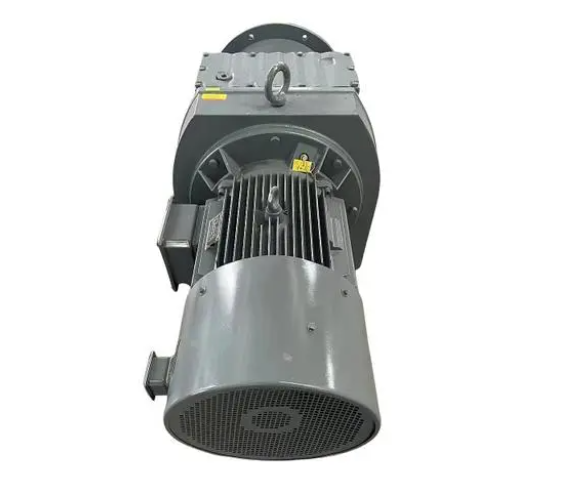
Precautions for installing HSD17-80-I harmonic reducer at the joint of the robotic arm
The correct installation of HSD17-80-I harmonic reducer at the joint of the robotic arm is crucial for the performance and reliability of the robotic arm. Here are some things to pay special attention to during the installation process:
1、 Preparation work before installation
Check the gearbox and related components
Before installation, carefully inspect
HSD17-80-I harmonic reducer and its matching mechanical arm joint components ensure no damage, deformation or defects. At the same time, confirm that the models and specifications of each component are consistent with the design requirements.
Clean working environment
Installation should be carried out in a clean, dry, dust-free, and debris free environment to prevent impurities from entering the interior of the gearbox, affecting its performance and lifespan.
Prepare installation tools
According to the installation requirements, prepare suitable installation tools such as wrenches, screwdrivers, torque wrenches, etc., and ensure the accuracy and integrity of the tools.
2、 Precautions during installation
Correct installation direction
Ensure that the installation direction of the harmonic reducer is consistent with the movement direction of the robotic arm joint, following the installation guidelines and markings provided by the manufacturer.
Concentricity and perpendicularity
During the installation process, it is necessary to ensure the concentricity and perpendicularity of the connecting components between the input shaft and output shaft of the reducer and the joint of the robotic arm. Using professional measuring tools for inspection and adjustment, excessive deviation may lead to unstable transmission, increased noise, and even component damage.
For example, if there is a large deviation in concentricity during installation, additional radial forces will be generated during the operation of the robotic arm, accelerating the wear of internal components of the gearbox.
Bolt tightening
Use appropriate bolts and nuts to secure the gearbox to the joint of the robotic arm, and tighten it with a torque wrench according to the specified torque value. Insufficient tightening force may cause loose connections, while excessive tightening force may damage bolts or mounting holes of the gearbox.
Lubrication
Before installation, check the lubrication inside the gearbox to ensure that the amount and quality of lubricating oil or grease meet the requirements. If necessary, add an appropriate amount of lubricant during the installation process.
Avoid collisions and impacts
During installation, handle with care to avoid collisions and impacts on the gearbox, in order to prevent damage or deformation of internal components.