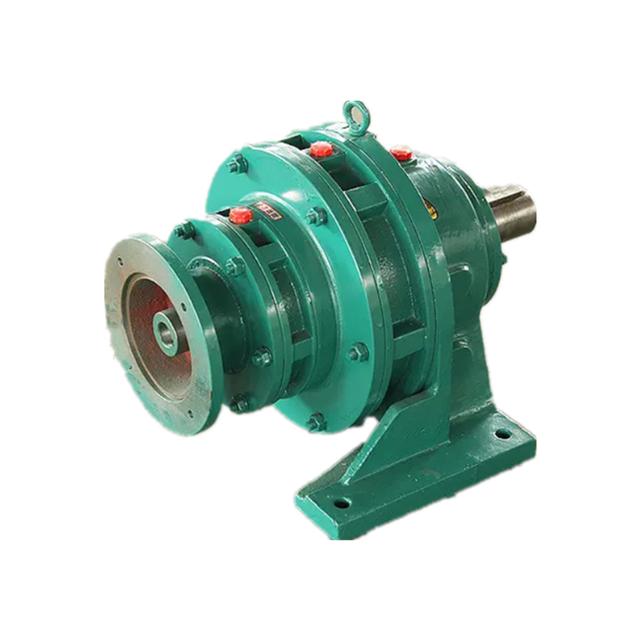
Selection and installation steps of RV joint reducer for injection molding robot

When choosing an injection molding robot RV joint reducer, in addition to considering brand factors, it is also necessary to comprehensively consider factors such as load requirements, torque requirements, speed, accuracy, installation space, working environment, lifespan requirements, and cost to ensure the selection of a suitable reducer. Next, let's learn about the selection and installation steps of the RV joint reducer for injection molding robots together:
1、 Selection of RV Joint Reducer
1. Determine load requirements: Clarify the maximum load weight, inertia, etc. that the robot needs to bear, which is the basis for selection.
2. Calculate torque demand: Based on the load and action requirements, calculate the required output torque through mechanical calculations.
3. Speed consideration: Understand the maximum and minimum speed requirements for robot joint motion.
4. Accuracy requirements: Select the corresponding precision level reducer according to the requirements of the injection molding process for the robot's motion accuracy.
5. Installation space: Consider the space size inside the robot that can be used to install the reducer, ensuring that the reducer can be installed reasonably.
6. Working environment: Consider the impact of environmental factors such as temperature, humidity, and corrosiveness on the gearbox, and choose materials and protection levels that are suitable for the environment.
7. Service life requirements: Select a gearbox that can meet the service life requirements based on the expected frequency and duration of use.
8. Brand and Quality: Priority should be given to well-known brands whose products are often more guaranteed in terms of quality, reliability, and stability.
9. Cost factor: Taking into account both procurement costs and subsequent maintenance costs while meeting performance requirements.
10. Compatibility: Ensure good compatibility between the reducer and other components such as the motor it is paired with.
11. Transmission efficiency: Choose a gearbox with higher transmission efficiency to reduce energy loss.
12. Maintainability: Consider whether the gearbox is easy to operate for future maintenance and upkeep.
2、 General installation steps for RV joint reducer of injection molding robot:
Preparation before installation:
Confirm that the reducer and motor are intact and check if the connection dimensions match.
Clean the relevant parts, remove dirt and burrs.
Input installation:
Unscrew the screw plug on the side of the reducer flange, rotate the input end to align the hexagonal socket screw with the process hole, insert the hexagonal socket tool to loosen the hexagonal socket screw.
Hand hold the drive motor and insert the keyway on its shaft perpendicular to the screw holding the hole at the input end of the gearbox into the drive motor shaft. Ensure that the concentricity of both is consistent and the flanges on both sides are parallel.
Tightening screws:
First, tighten the fastening screws of the drive motor arbitrarily, but do not tighten them.
Gradually tighten the four fastening screws diagonally.
Finally, tighten the locking screw of the input end hole of the reducer.
Lubrication:
According to the requirements of the gearbox, use appropriate lubricating grease for lubrication.

