

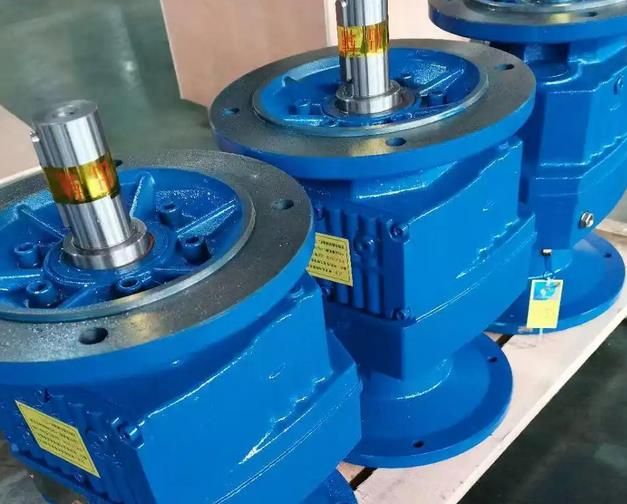
Repair Method for SEW Domestic Replacement GRF87-Y4KW-4P-41.92 Reducer Seal Damaged
After the RF87 gearbox seal is damaged, the following repair methods can be used:Determine the model and specifications of the seal: Before repairing, it is necessary to accurately understand the model, specifications, and installation dimensions of the damaged seal. You can refer to the product manual of the gearbox or consult the manufacturer to ensure that the replaced seals match the original components.
Prepare repair tools and materials: Prepare corresponding tools such as wrenches, screwdrivers, vernier calipers, as well as new seals, sealants, lubricants, cleaning cloths, and other materials according to the repair needs.
Disassemble the relevant components of the gearbox: According to the disassembly procedures of the gearbox, gradually remove the components related to the seals, such as end caps, bearings, gears, etc. During the disassembly process, attention should be paid to preserving the installation sequence and position of each component to avoid losing or damaging parts.
Remove damaged seal: Carefully remove the damaged seal from the installation position, paying attention to the installation method and position of the seal, as well as whether there are other related fixing devices or gaskets. If the seal fits tightly with the shaft or hole, a suitable tool such as a puller or copper rod can be used to gently tap and remove it, but be careful not to damage the surface of the shaft or hole.
Clean the installation area: Use a cleaning cloth or solvent to thoroughly remove oil stains, impurities, dust, and old sealant from the sealing installation area. Ensure that the installation surface is clean, smooth, and free from any scratches, wear, or deformation. For the surface of the shaft, it is also necessary to check for wear or scratches. If there are, they need to be repaired or polished smooth to ensure a good fit between the seal and the shaft.
Install new seals: Before installing a new seal, apply an appropriate amount of lubricating oil to the lip and installation area of the seal to facilitate installation and prevent damage during installation. Press the seal smoothly into the installation position according to the correct installation direction and method. If the seal is equipped with springs or other auxiliary devices, ensure that these devices are installed correctly and can work properly. For some seals that require the use of sealant, an appropriate amount of sealant should be evenly applied to the installation surface or joint surface of the seal before installation.
Reinstall disassembled components: Reinstall the previously disassembled components in their original order and position. During the installation process, ensure that all components are installed in place and tighten bolts and nuts appropriately, but not too tightly, to avoid deformation or damage to the seals. At the same time, attention should be paid to checking the installation clearance and lubrication of components such as bearings and gears to ensure their normal operation.
Inspection and testing: After completing the repair, conduct a comprehensive inspection of the gearbox to ensure that all components are installed correctly and the seals are securely installed. Then, add an appropriate amount of lubricating oil to the reducer and conduct a trial run. During the trial operation, closely observe whether there is any oil leakage in the sealing area and whether the gearbox is operating normally, including sound, temperature, vibration, and other aspects. If there are any abnormalities, the machine should be stopped in a timely manner for inspection, and the problem should be identified and dealt with.
If you are unfamiliar or unsure about the maintenance of the gearbox, it is recommended to contact professional maintenance personnel or the after-sales service department of the gearbox manufacturer for maintenance to ensure the quality of the repair and the normal operation of the gearbox.
Related News
