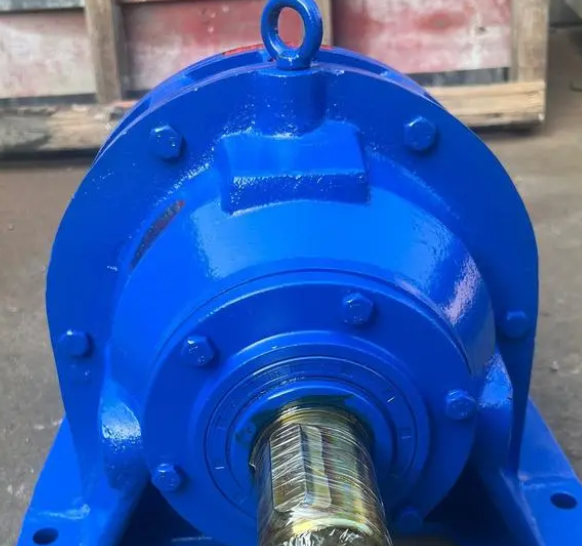
Planetary reducer BLD1-35-0.75KW cycloidal pinwheel reducer installation guide and maintenance suggestions

In modern mechanical equipment, the planetary reducer BLD1-35-0.75KW cycloidal pinwheel reducer has become the preferred choice for industrial applications due to its high efficiency and reliability. This article will provide a detailed introduction on how to install and maintain this gearbox, aiming to help you easily master its installation points and daily maintenance skills, ensuring long-term stable operation of the equipment.
preparation
Before starting to install the planetary gearbox, sufficient preparation work is required first. Ensure that the following steps are completed:
1. Check the integrity of accessories: Carefully inspect all accessories and parts to ensure they are complete, and confirm if there are any damages or missing items.
2. Read the installation manual: Read the installation manual and technical parameters of the reducer in detail to understand the specific requirements and precautions during the installation process.
3. Installation environment preparation: The selected installation site should be flat, clean, and able to provide sufficient working space and ventilation conditions.
Installation steps
Step 1: Install the foundation
Firstly, select a suitable installation foundation based on the size and weight of the equipment. Usually, using concrete foundations is more stable and reliable.
1. Measurement and marking: Use measuring tools to accurately measure the installation position of the reducer, mark the position and distance of the screw holes.
2. Fixed bolts: Install and tighten the foundation bolts in the pre drilled screw holes to ensure that each bolt is evenly stressed.
Step 2: Install the reducer
Installing the reducer is a crucial step in the entire process, and caution should be exercised to prevent damage to the equipment or impact on safety performance.
1. Supporting installation: Select the correct installation method and fixing bracket according to the model and size of the reducer.
2. Wiring and adjustment: Connect the reducer according to the electrical wiring diagram to ensure correct installation of the electrical components. Adjust the reduction ratio and position of the output shaft to meet actual needs.
Step 3: Connect the transmission device
After installing the reducer, it needs to be connected to the transmission device, usually through bearings or couplings.
1. Transmission bearings: Select appropriate transmission bearings based on the characteristics of the transmission device and install them on the output shaft of the reducer according to specifications.
2. Coupling installation: If a coupling is required, select the appropriate model and specification to ensure the synchronization of the transmission device while transmitting torque.
Maintenance suggestions
Regular maintenance and inspection are essential to extend the service life of planetary reducers and ensure their stable performance.
1. Lubrication and maintenance: Replace the lubricating oil according to the prescribed cycle, and pay attention to the type and brand of lubricating oil that meet the manufacturer's requirements.
2. Regular inspection: Check the operating status and temperature of the reducer at regular intervals to ensure that there are no abnormal noises or vibrations.
3. Cleaning and rust prevention: Regularly clean the surface and surrounding areas of the reducer, and perform rust prevention treatment to prevent corrosion and mechanical damage.
summary
Through the detailed introduction in this article, I believe you have gained a comprehensive understanding of the installation and maintenance of the planetary reducer BLD1-35-0.75KW cycloidal pinwheel reducer.


