

Dismantling of motor reducers for mechanical equipment use
The disassembly steps for using motor reducers in mechanical equipment are as follows:
When disassembling the protective cover, motor, and brake disassembly line, pay attention to marking them as a reference for assembly.
When disassembling the high-speed and low-speed couplings of the planetary gear reducer, remember to use a flat shovel or sample punch to mark the relative position, so that there is a basis for the installation position when reinstalling the coupling.
After removing the anchor bolts of the motor, record the thickness and position of the original foot pad as the basis for the correct position. Loosen the brake bolt, remove the brake adjustment screw, and disassemble the brake.
Remove the reducer backstop and place it in the designated position to avoid collision.
Mark the relative position of the upper and lower joints of the reducer, remove the fastening bolts of the upper and lower covers of the reducer, replace the damaged bolts, and remove the locating pin.
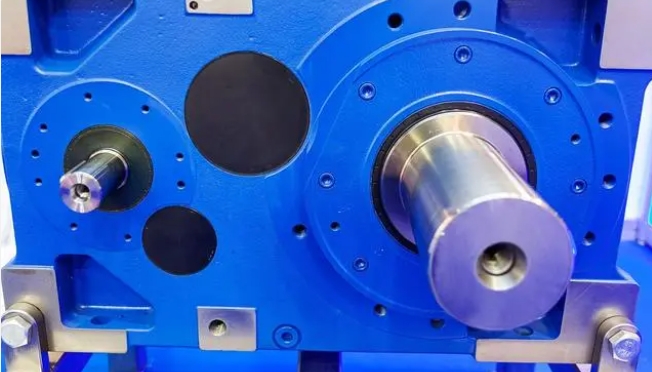
Make assembly marks on each bearing end cap, remove the fastening bolts of the end cap, remove the end cap, measure the thickness and quantity of the asbestos gasket on the end cap with an outside micrometer, and make original records. Initial inspection of the bearing end cover shows no wear or cracks on the front.
Before lifting the top cover, check for any abnormal phenomena such as missing screws (use a top screw to lift the top cover, hoist it onto the prepared base plate, and hold relevant certificates for crane operation).
The above are the disassembly steps for using motor reducers in mechanical equipment, hoping to be helpful to you.