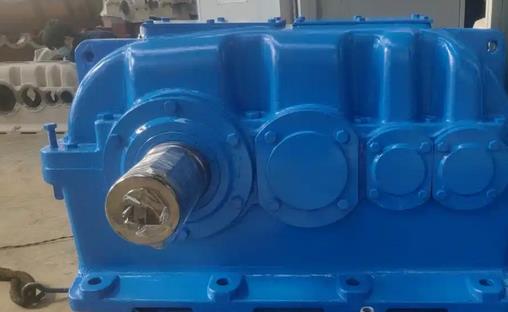
What tools can ensure the concentricity of the transmission shaft when installing the ZSY250-22.4-2 gearbox with a hard tooth surface
When installing the hardened ZSY250-22.4-2 reducer, the following are some tools that can be used to ensure the concentricity of the transmission shaft:Dial gauge and stand
A dial gauge is a precision measuring instrument that is fixed in a stable position by a magnetic gauge holder, with the gauge head in contact with the surface of the drive shaft. When the transmission shaft rotates, the dial gauge can accurately measure the radial runout of each point on the shaft surface, thereby determining whether there is eccentricity or non concentricity in the transmission shaft, with an accuracy of 0.01mm or even higher.

Laser centering device
Laser alignment instrument is an advanced measuring tool that uses a laser beam as a reference line to measure the relative positional deviation between the transmission shaft and the reducer shaft by emitting and receiving laser signals. When operating, install the transmitter and receiver of the laser alignment instrument on the shaft ends of the transmission shaft and reducer respectively. The instrument will automatically measure and display the concentricity deviation value of the two shafts, with high measurement accuracy, up to the micrometer level, and is not affected by ambient light.
feeler gauge
A feeler gauge is composed of a set of thin sheets of different thicknesses, used to measure the gap between the transmission shaft and the reducer connection. During installation, insert a feeler gauge into the gap of the coupling or other connecting parts, and determine the concentricity of the two shafts by measuring the gap size at different positions. The thickness specifications of a general feeler gauge range from 0.02mm to 1mm, and suitable specifications can be selected for measurement according to actual needs.
Vernier caliper
Vernier calipers can be used to measure the outer diameter dimensions of transmission shafts and gearbox shafts, as well as the relevant dimensions of connecting components such as couplings. By measuring these dimensions and comparing the dimensional deviations required by the design, the machining accuracy of the shaft and the fit after installation can be preliminarily judged, indirectly reflecting whether the concentricity meets the requirements. Its measurement accuracy can generally reach 0.02mm.
level
The spirit level is used to detect the levelness of the installation foundation of the transmission shaft and reducer. If the installation foundation is not level, it will cause additional tilting force on the transmission shaft during operation, affecting concentricity. When using a level, place it on the installation plane of the transmission shaft and reducer. Adjust the installation shim or foundation bolt to ensure that the bubble of the level is in the center position, ensuring that the installation foundation is in a horizontal state and providing basic conditions for ensuring the concentricity of the transmission shaft. Common level accuracy includes 0.02mm/m, 0.05mm/m, etc.

